Imagine driving in a downpour, relying on your windshield wipers to clear the view, only to have them leave unsightly scratches on your windshield. It’s a common issue that can impair visibility and detract from your vehicle’s appearance. But don’t despair, there’s a way to deal with this problem effectively.
This article will guide you through the process of removing wiper scratches from your windshield. You’ll discover practical, step-by-step instructions that are easy to follow, even if you’re not a car enthusiast. So buckle up and prepare to restore your windshield to its pristine condition.
Understanding Windshield Wiper Scratches
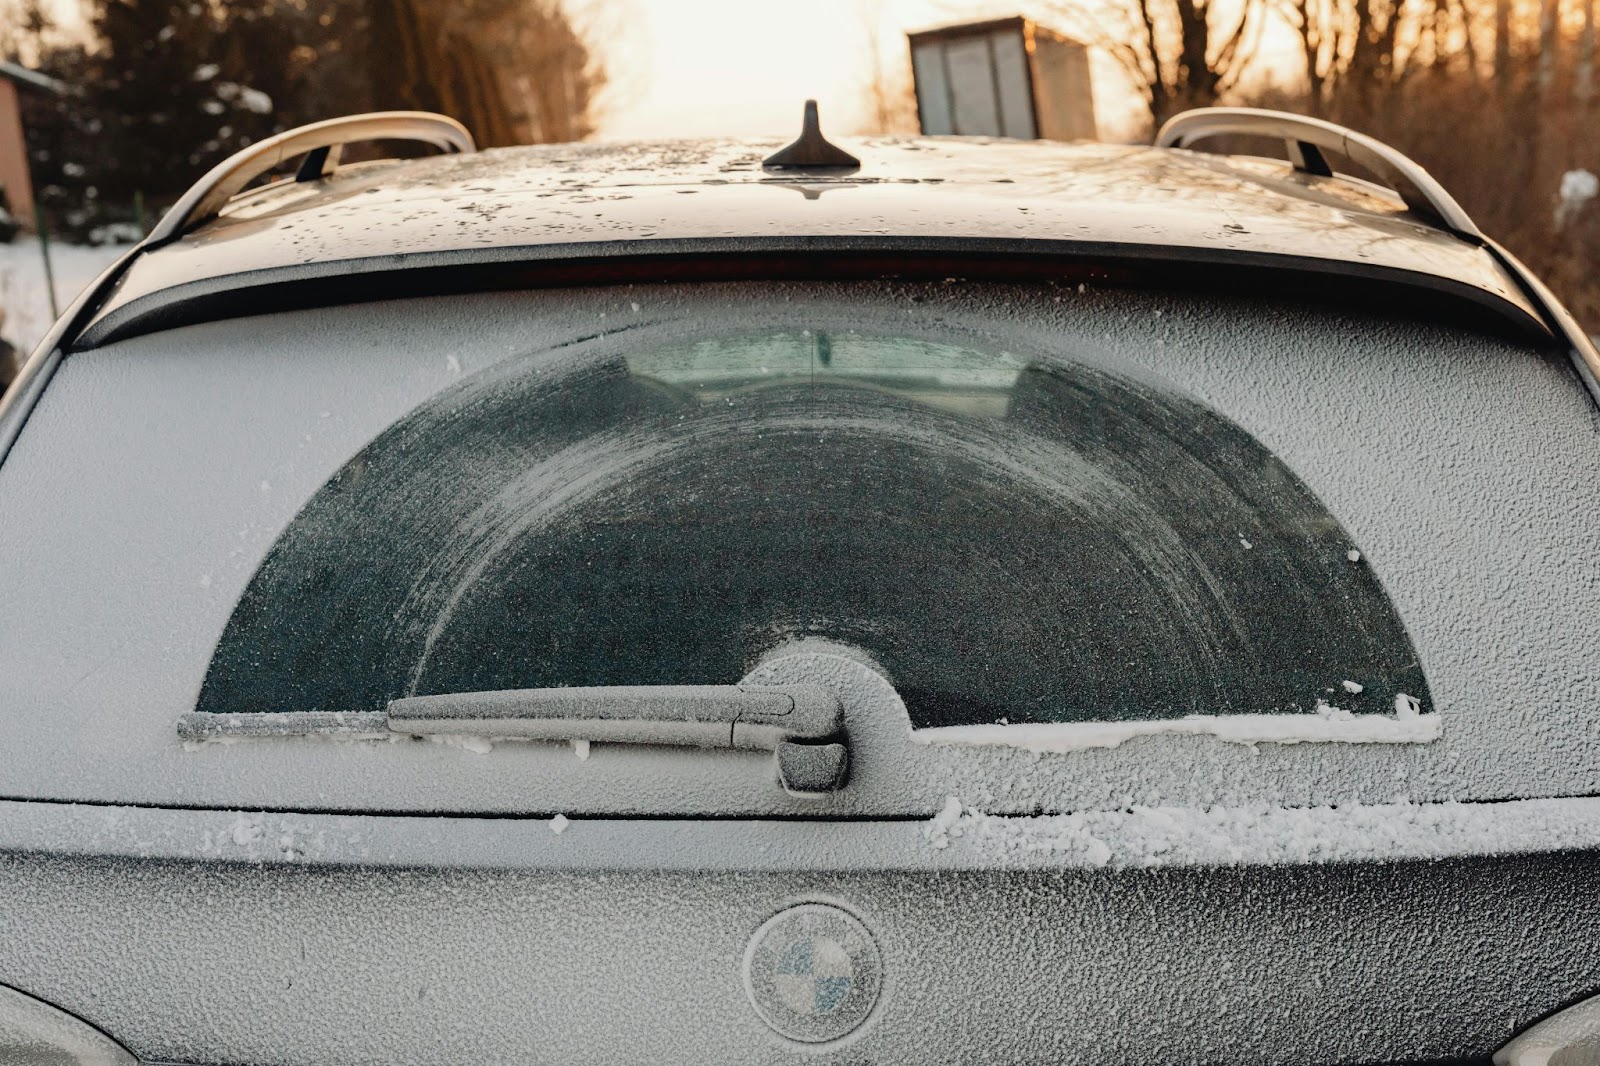
Windshield wiper scratches often occur from worn-out wiper blades. Wiper blades, made from rubber, degrade over time, exposing the metal frame that can come into contact with the windshield. Consequently, they leave a trail of scratches that can impair visibility, particularly when it’s raining or dark.
Wiper scratches typically have a distinct pattern. They mimic the motion of the wiper blades, usually having an arch or a semi-circle shape that spans across the windshield. Upon close inspection, one might notice these scratches in the form of light lines that catch the sun or headlight beams from cars at night.
The severity of these scratches can vary. Some are shallow, hardly noticeable, while others are deep, affecting the driver’s view. According to the National Highway Traffic Safety Administration (NHTSA), poor visibility is a major contributing factor to car accidents. Hence, repairing scratches not only improves the aesthetic appearance of the vehicle but also contributes to safer driving.
To assess the severity of the windshield scratches, one can run a fingernail across the scratch. If it’s shallow and the fingernail doesn’t catch, it’s a minor scratch. These can usually be fixed at home using some readily available tools and materials, like a high-grade auto glass cleaner, a soft cloth, and a cerium oxide based glass polishing compound.
However, if the fingernail catches in the scratch, it indicates a deeper scratch. This requires professional help as it involves more complex processes, such as employing power tools for buffing, and possibly even a full windshield replacement.
In the next section, step-by-step instructions on how to remove minor windshield wiper scratches at home will demonstrate the do-it-yourself approach. For deeper scratches, it’s advisable to seek professional auto glass services.
The Importance of Removing Wiper Scratches
Maintaining clear windshields warrants paramount emphasis, given its relevance to safe driving. Driving with visible wiper scratches poses risks considerably bigger than merely compromising aesthetic appeal of the vehicle. Evidence, according to Insurance Institute for Highway Safety (IIHS), suggests poor visibility contributes significantly to vehicular accidents, establishing link between clear windshields and effective road safety.
Eradicating scratches, particularly those inflicted by wiper blades, offers several benefits. Enhancing visibility stands as the foremost amongst these. Better views of the road, especially during harsh weather conditions like heavy rains or snow, are instrumental in navigating safely. Diminished visibility due to windshield scratches, for instance, during nighttime can amplify risk, making the swift removal of these abrasions consequential.
Retaining vehicle value amounts to another cmpelling reason. Scratches on the windshield invariably diminish a car’s resale value; an improved appearance by removing these marks can enhance its appeal considerably.
Moreover, tackling windshield scratches early and promptly can thwart progression into more extensive cracks and damages over time, depicted extensively by AAA. Dust, grime, and debris filling these scratches tend to pose as contributing agents propelling crack propagation; revealing how prompt attention ensures optimal windshield health.
Furthermore, ignoring initial scratches invites additional repair costs. Negligence often results in comprehensive windshield replacement; arguably a far more costly affair compared to simple repairs. Bloated repair bills and escalated insurance premiums are plausible outcomes of failing to address the onset of wiper scratches.
Prioritizing swift removal of windshield scratches improves driver visibility, retains vehicle value, prevents further damage and dodges hefty repair costs. Hence, addressing these cannot stand ignored both for road safety and economic reasons.
Tools Needed for Removing Wiper Scratches
Swift and effective removal of wiper scratches necessitates a set of specific tools. These tools ensure an efficient repair process, restoring the windshield to its former clarity. Delving into the tool kit, the first item of importance is a glass repair kit. Manufacturers design these kits specifically for repairing small scratches and chips, making them ideal for handling shallow wiper scratches.
The second essential tool is a glass cleaner. It rids the windshield of dust and debris, ensuring a clean working area. If the glass isn’t clean, the repair substances may not adhere properly, leading to further complications. Additionally, a microfiber towel offers a soft touch, eliminating the risk of additional scratches during cleaning.
In addition to this, a water spray bottle and a squeegee for tactile handling of the cleaning process ensure smooth application of the repair substances. Careful application guarantees a seamless finish, nearly invisible to the naked eye.
Furthermore, accommodating a glass polishing compound in the kit enhances the final result, ensuring a smooth surface. It helps in removing deeper scratches, as mentioned in the previous sections. However, deeper scratches might require powered buffing tools or professional help, based on their severity. Emery paper or fine-grit sandpaper also plays a crucial role, mechanically abrading the scratched glass surface to level it down, preparing it for effective repair.
Lastly, UV light comes handy when curing specific types of scratch repair resins. It accelerates the curing process, solidifying the substance in the shortest time, reducing the waiting period.
Though not a tool, it’s worth mentioning that patience poses a significant factor during the process. Repairing windshield wiper scratches is a meticulous procedure that requires careful attention to detail. Rushing it might cause more damage than good, leading to even costlier fixes down the line.
Bear in mind that every scratch differs based on depth and length, hence the tools required could vary. To ensure maximum safety and efficiency, refer to users’ manuals for specific instructions or seek professional assistance if the job appears too big. Regardless, the tools aforementioned form an essential base for tackling minor wiper scratch damage, fostering a clear, clean, and safe windshield.
Step by Step Guide on Removing Wiper Scratches
First, it’s crucial to clean the windshield thoroughly using a glass cleaner and a microfiber towel. Cleaning ensures removing any dust, grime, and dirt that might interfere with the repair process. Second, spray the windshield with water using the spray bottle, especially focusing on the scratched areas. Wetting the surface makes it easier for the polishing compound to adhere to the scratches.
Next, apply the glass polishing compound on the scratched areas. Most glass repair kits come with gentle, non-abrasive compounds that won’t harm your windshield. Using the squeegee, spread the compound evenly across the scratches and surrounding areas. Always remember to apply the compound gently, avoiding excessive pressure that might cause further damage.
Following the application of the polishing compound, place the UV light close to the treated area. UV light encourages compound curing, and this step usually takes about 15 minutes. Verify the exact timing from the instructions provided in your glass repair kit.
Finally, after the compound has completely cured, rinse the windshield with water. Use the squeegee to clear any compound residue. It’s key to check the scratches for visibility post this process. Repeat the process if the scratches remain visible. This process, while straightforward, requires patience considering subtle scratches might require a couple of cycles to remove completely.
Remember, for deep scratches that stubbornly persist after several trials, it remains pertinent to seek professional help. The depth of some scratches may necessitate windshield replacement rather than repair, and only a qualified professional can provide accurate guidance. This guide primarily intends to assist in DIY repair of shallow wiper scratches, contributing to improvements in both driver visibility and vehicle aesthetics.
Aftercare for Your Windshield Post Scratch Removal
Once the scratches are removed from the windshield, it’s essential to prioritize its maintenance to prevent future scratches and ensure longevity. The aftercare for the windshield might involve a few steps but it’s crucial in overall vehicle maintenance.
Regular Cleaning
Maintaining cleanliness plays a key role. Everyday dirt and grime build-up can exacerbate minor scratches. Prioritize cleaning your windshield with a designated glass cleaner and a microfiber cloth, designed to prevent unnecessary abrasion. Moreover, regular cleaning also provides an opportunity to keep an eye out for any new potential scratches.
Quality Wipers
Invest in high-quality windshield wipers. Harsh or worn-out wipers often cause scratches on windshields. To mitigate this, seek reliable brands known for durability and gentle action on the glass.
Application of Glass Sealant
Application of a glass sealant serves as the windshield’s protective layer, thereby reducing the likelihood of future scratches. These sealants often make the cleaning process easier, too, since they repel water, dirt, and grime.
Regular Inspections
Carrying out regular inspections aids in the early detection of any areas of concern. If there’s a hint of a scratch, address it in a timely manner to avoid further damage.
Proactive Measures
Avoid parking under direct sunlight whenever possible; UV light can cause existing scratches to worsen and decrease the life of your windshield. Remember that abrasive chemicals or products should never be used on windshields as they are likely to cause surface damage.
Through focused effort on proper care and maintenance post scratch removal, the longevity and clarity of your windshield can be significantly preserved. Attention to regular cleaning, choosing quality wipers, applying a glass sealant, conducting regular inspections, and adhering to proactive measures will go a long way in keeping your windshield in prime condition.
Expert Tips and Tricks for Wiper Scratch Removal
Making aftercare a priority ensures longevity of a repaired windshield. Knowing best practices for proactive maintenance can make all the difference. This involves adopting smart techniques and implementing tricks of the trade. This section presents those techniques, elaborating on five finely tuned tips for superior scratch removal.

- Avoiding Substandard Wipers – The hunt for quality wipers becomes a pivotal task after a scratch removal job. Substandard wipers, as an example, might entice with a budget-friendly tag, yet they often produce scratches and streaks on windshields. Trusted brands specializing in automotive parts often prove reliable. Look for wipers that display durability, efficient cleaning, and minimal noise.
- Regularly Inspecting the Windshield – Keeping consistent track of the windshield condition proves essential. Minor scratches can deepen, impeding visibility and safety if left unattended. Regular inspections play a crucial role in preventing this escalation.
- Applying Glass Sealant – A post-scratch removal task that often gets overlooked involves the application of a glass sealant. Sealants offer a protective layer, shielding against tree sap, bird droppings, and even minor scratches. Quality optimal, as always, goes hand in hand with durability, protecting, and detailing properties.
- Consistent Cleaning – Entrust windshield cleaning to a quality glass cleaner and a soft microfiber cloth. A light, circular motion with the cloth, tied with a non-abrasive cleaner, can provide stellar results.
- Shading the Windshield – Direct sunlight, amid other harsh weather conditions, leads to rapid windshield depreciation. Therefore, parking the vehicle in a shaded area or using a sunshade offers paramount protection.
Abiding by these best practices and expert tips can guarantee the safety and aesthetic features of a car are unmarred by avoidable wiper scratches. Thus, the CSSC, through its Scratch Prevention Program, stresses the significance of a detailed, systematic approach to windshield care and protection. Adequate knowledge enables proactive measures, saving both time and money in the long run.
Case Studies: Successful Scratch Removal
Case study one revolves around a ’96 Ford Mustang owner, Lydia. Living in the dusty surroundings of Arizona, her windshield had developed considerable scratches due to ineffective wipers. After reviewing the scratch depth, she picked up a standard DIY glass repair kit to try herself first. This repair kit contained a glass polishing compound capable of treating shallow scratches. Strength in her wrist for good pressure and patience brought Lydia successful results, with most scratches becoming nearly invisible.
Contrastingly, for the second case, Mark owns a ’07 BMW 7 series in the vibrant city of Miami, where subtropical rainfalls are a constant menace. His windshield suffered significant scratches due to worn-out wiper blades. Understanding that deeper scratches require professional attention, Mark found a professional glass repair service. The technician used power tools and a specialized glass resin to effectively mitigate the scratches, restoring the windshield to near pristine condition.
The third case details a ’10 Audi A3 user, Stacy. Primarily using her vehicle in downtown Manhattan, the windshield acquired a few patches of fogging along with scratches. She utilized a DIY repair kit to address the scratches. For the fogging issue, Stacy opted for a homemade vinegar solution, which she found effective. It’s essential to mention that homemade solutions, while cost-effective, may not necessarily yield professional-grade results.
Finally, the notable case of ‘16 Subaru Impreza owner, Jake from the highly snowy Colorado region. Jake had multiple scratches all over his windshield due to the rough use of snow removal tools. Already having spent on body repairs, he sought a cheaper route. With care, Jake used a budget-friendly Cerium Oxide powder, commonly known as jeweler’s rouge, and a felt buffing pad with successful results.
These cases exemplify the diversity of the challenges and approaches in dealing with windshield scratches. Individual recognition of the nature and severity of the scratch, city’s weather, and the economic constraints led all four to targeted solutions, performing the needed task with efficiency and complete satisfaction.
Conclusion
Addressing windshield wiper scratches is crucial for both vehicle safety and aesthetics. It’s clear that the DIY repair guide for shallow scratches can be a viable solution, with patience being a key factor in the process. Deeper scratches, on the other hand, may call for professional help. Remember, maintaining a clear windshield isn’t just about repair, it’s also about prevention.
Regular cleaning, quality wipers, and glass sealants can all contribute to a scratch-free windshield. The case studies presented show that successful scratch removal is achievable, regardless of the severity of the scratches, the weather conditions, or your budget. It’s all about finding the right solution for your specific needs. So don’t let wiper scratches compromise your visibility or the look of your vehicle – take action today.